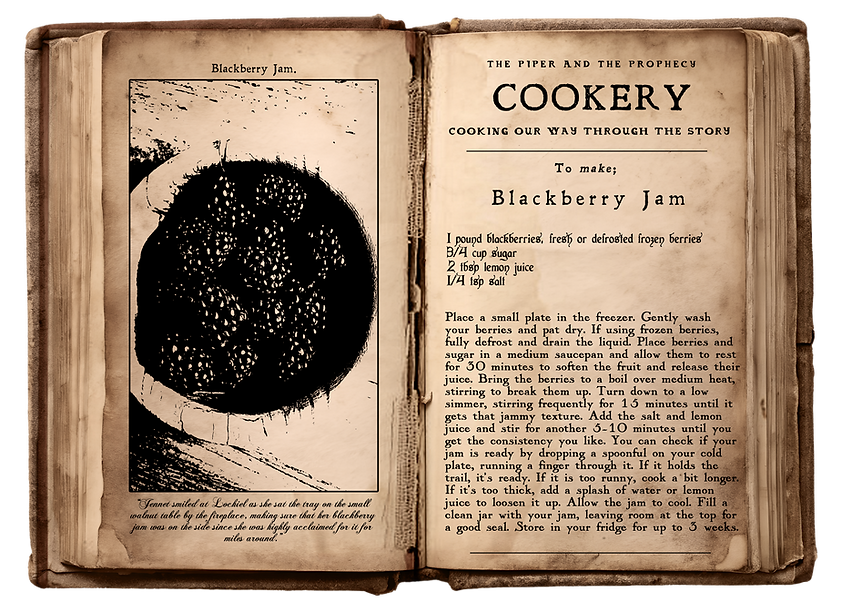
Blackberry Jam
"Jennet smiled at Lochiel as she sat the tray on the small walnut table by the fireplace, making sure that her blackberry jam was on the side since she was highly acclaimed for it for miles around."
- The Piper & The Prophecy
.jpg)
.jpg)
We’re cooking our way through the story with Blackberry jam!
Blackberry jam was my very first exploration into jams and the one that our matriarch Mona taught me how to make. It’s the perfect beginner’s jam because blackberries naturally have the flavor, pectin, and acid needed to make a beautiful jam without a lot of steps, tools, or added ingredients.
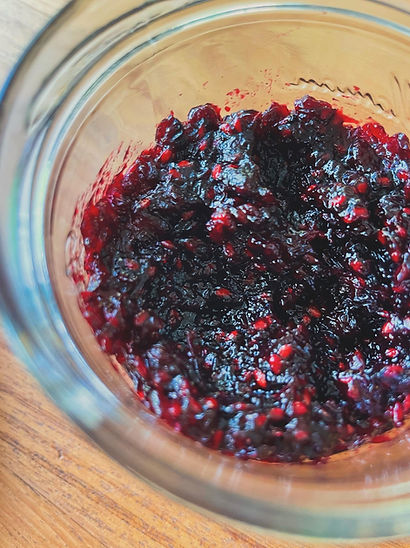
It’s one of the most rewarding fruits to work with because you can watch the transformation happen right in the pot as the berries deepen into a deep purple and the mixture thickens into glossy jam before your eyes.
It takes less than an hour to come together, doesn’t require canning, and is surprisingly forgiving. My first attempt 22 years ago was softer than I intended, yet it was delicious. This batch thickened a little too quickly, and yet it is also delicious.
Whether store-bought, frozen, or picked wild from the brambles on your walk through the countryside, blackberries offer a jam that is rustic in nature, delicious by default, and the perfect gateway for beginners. Give it a try and come back in a few days when we use our own jam to make Jennet’s Blackberry Scones.
To make;
Blackberry Jam
makes about 6 ounces
1 pound blackberries, fresh or defrosted frozen berries
3/4 cup sugar
2 tbsp lemon juice
1/4 tsp salt
I. Place a small plate in the freezer. Gently wash your berries and pat dry. If using frozen berries, fully defrost and drain the liquid.
II. Place berries and sugar in a medium saucepan and allow them to rest for 30 minutes to soften the fruit and release their juice.
III. Bring the berries to a boil over medium heat, stirring to break them up. Turn down to a low simmer, stirring frequently for 15 minutes until it gets that jammy texture.
IV. Add the salt and lemon juice and stir for another 5-10 minutes until you get the consistency you like.
V. You can check if your jam is ready by dropping a spoonful on your cold plate, running a finger through it. If it holds the trail, it’s ready. If it is too runny, cook a bit longer. If it’s too thick, add a splash of water or lemon juice to loosen it up.
VI. Allow the jam to cool. Fill a clean jar with your jam, leaving room at the top for a good seal. Store in your fridge for up to 3 weeks.


~ from the table of Summer crosby hennessy of acorn moon mercantile ~